Open Broadcaster Software (referred to as OBS) is free and open source software for video recording and live presentation. OBS supports almost all streaming platforms including Facebook Workplace. Using the guide below, you will learn how to record and stream using OBS.
Downloading OBS
Installing OBS
Simply run the installer and follow the on-screen directions to install OBS Studio.
Configuring the Settings
OBS has a wide range of features and options. For this guide we are going to focus on recording eXp World and streaming to Workplace.
Additional quickstart information can be found at https://obsproject.com/wiki/OBS-Studio-Quickstart
Video Settings
- Open OBS. When you run the application you will be first greeted with an Auto-Configuaration Wizard. You may close this to retain the default settings.
- On the main application screen, under Sources, click the + button to add a source and click Window Capture. For this guide, we are going to be using the chrome tab with eXp.world running as the source. When the Create/Select window appears, click Create new and then the OK button.
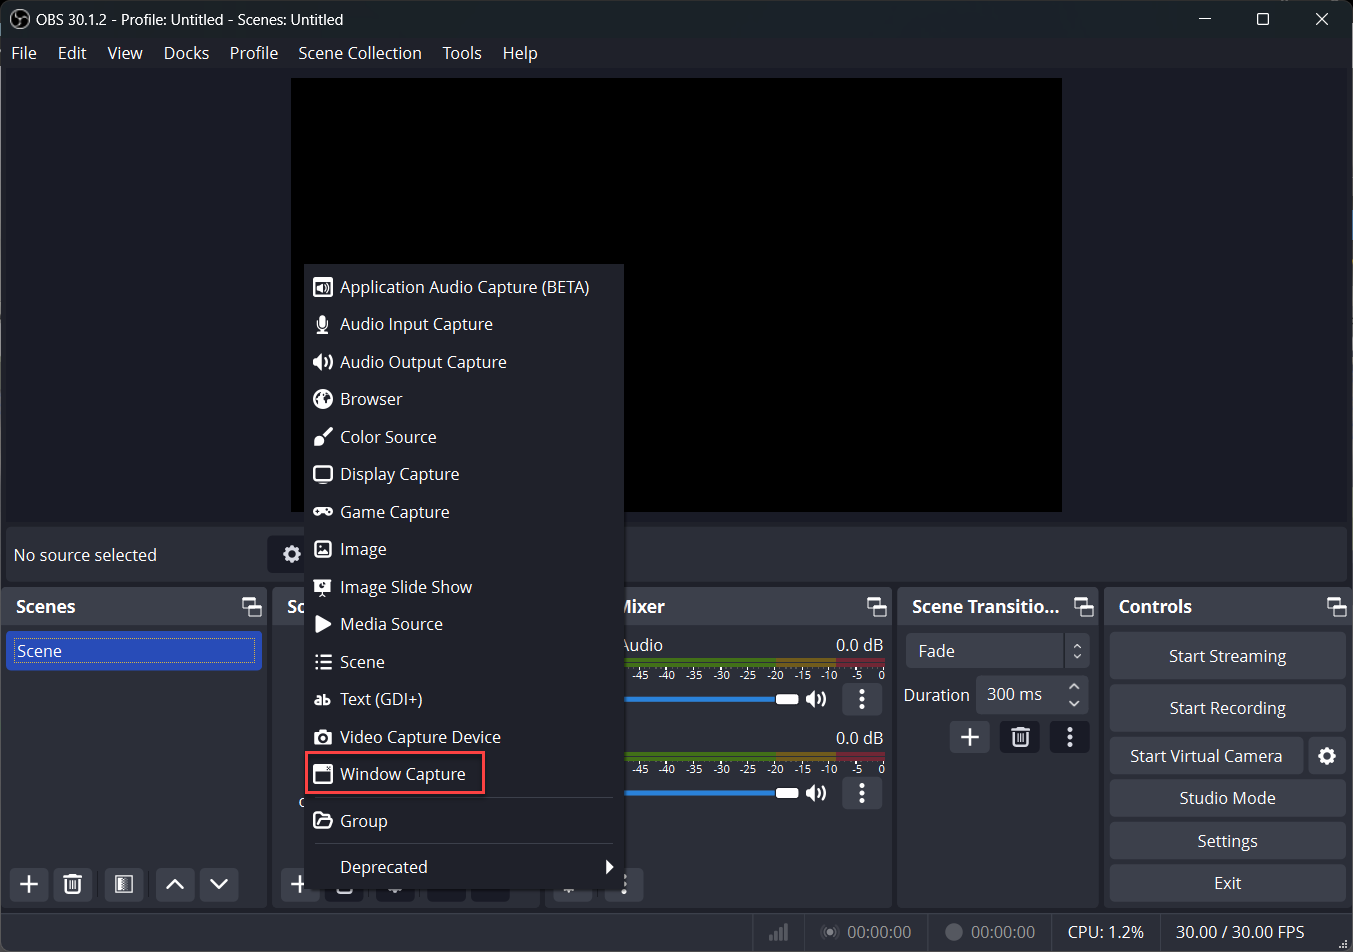
- A new window should load. Change the Window setting to [chrome.exe]: eXp World - Google Chrome, check in the boxes for all 3 options shown in the image below and click OK.

- eXp World is now set-up to be recorded.
Audio Settings
- On the main application screen, click Settings.
- Using the left hand navigation in the new Settings window, click Audio.
- Check your audio inputs or outputs. Desktop should be default. If you use a microphone, you may want to disable it to avoid any interference during the recording.
- Click OK to save settings.
Streaming Settings
OBS allows you to stream to a multitude of services. For this guide, we will be streaming to Facebook Workplace.
- On the main application screen, click Settings.
- Using the left hand navigation in the new Settings window, click Stream.
- Change the Service setting to Facebook Live and enter the Stream key.
More information on how make a stream is listed at https://www.facebook.com/help/587160588142067?helpref=faq_content, including how to generate your stream key.
Going Live
Once you have completed setting up OBS, you will then be able to record or stream a class or meeting within eXp World. From the main application window click Start Streaming.
If you have set up the application correctly and have supplied a working stream key, you will have stats displayed below listing how long the stream has been live, how long it has been recorded, the CPU processor use, and the current frame-rate of the recording.